
Maybe you know the problem, your issue list of “To Dos” grows faster than your ability to complete those tasks. The further a project progresses, the more extensive the to-do list becomes.
Sometimes the list is so endless that some of your team members get a hangover. This doesn’t have to be.
What can you do to solve this problem?
The great thing about Redmine is the possibility to create lists with the help of filters and options, so that they become more manageable, plannable activities. This helps to concentrate on the important topics of your project work.
Unfortunately, not all employees are so well versed in the use of filters or even know that they exist and what benefits they have. In that case you are needed as a project manager or Redmine administrator. Setting up filters is technically quite easy. The hard part might be changing the work routine. But that’s another topic, more important is to give your team the possiblity to do their work more effective and less exhausting.
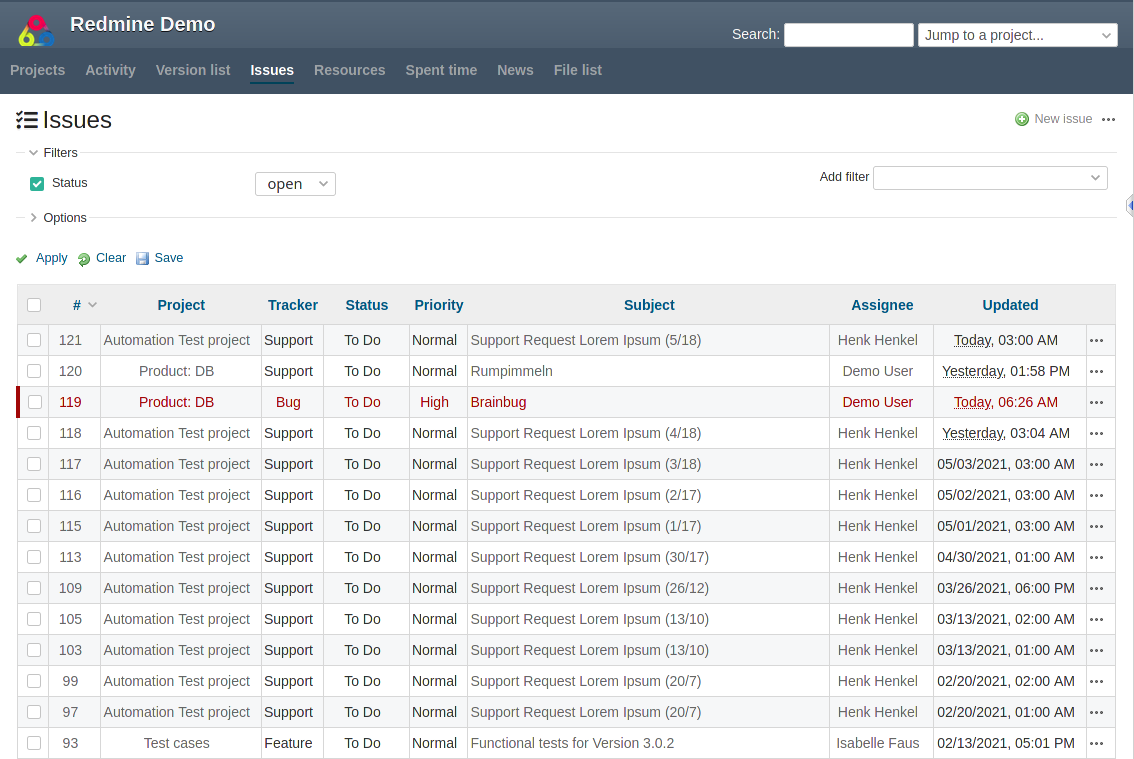
A typical issue list in Redmine might get long.
Today we present you a use case how to build manageable issue lists in Redmine.
Requirements:
- current Redmine version
- User with appropriate role permission to create issue queries (e.g. manager, administrator)
Create public issue queries for your team
Before you start, it is necessary to think about how you can provide a better overview:
- Which tasks are currently relevant for your team?
- Is it enough to limit the list in time (e.g. current week)?
- Do you need to introduce additional distinctions (e.g. priority)?
- Do you only want to see the tasks that need to be done? Or also those that have already been completed?
When it is clear how you want to structure your future lists, you can start.
Redmine provides a lot of filters to reduce the issue list according to your needs.
As a user with the appropriate permission you have the possibility to create a public issue query for your team. The first step is as follows.
- open the cross-project issue list in your Redmine (/issues)
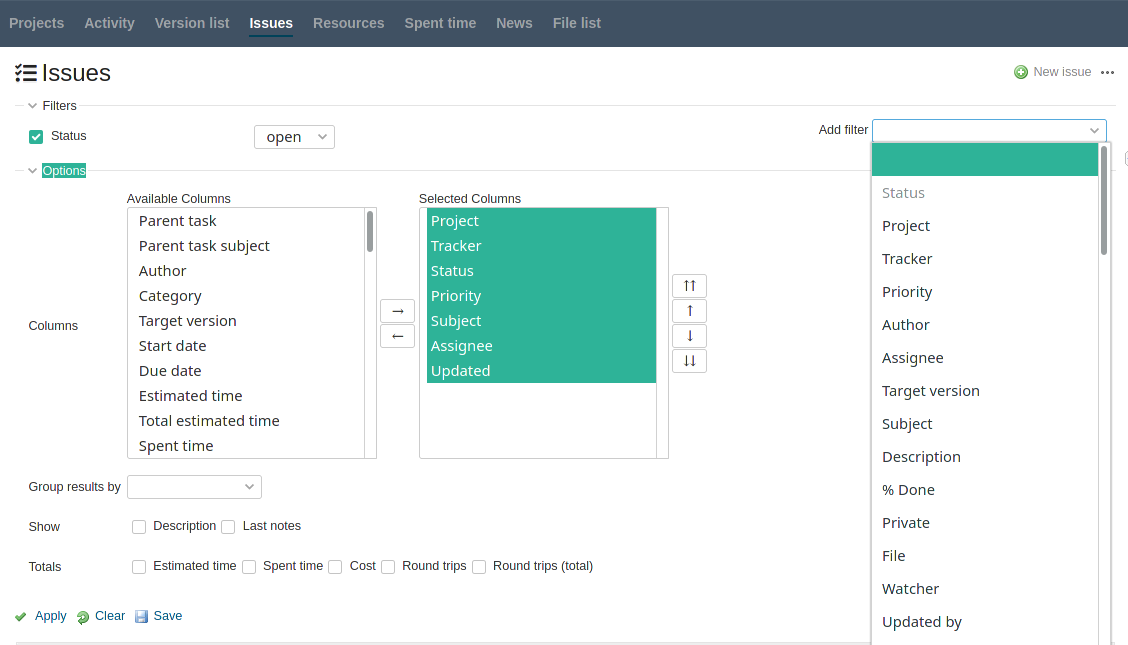
- expand the section Options to adjust the columns of your future list.
- Select from Add filter the filters you need. Depending on the plugins on your system the list can be correspondingly extensive.
- When you are ready you click the Save link to proceed to the last step of your first custom issue query.
In the second step, you define who is able to use your custom query list. You can also make some changes here, in case you need to change something. The main thing you must do here is:
- Name the query, so every one else, knows what to expect when opening it.
- Make it Visible to your team by selecting to any users.
- Make it usable For all projects by activating this option.
- Click Save to finish this process. That’s it.
In our team, we work according to the Get-things-done method. We have created lists for this, which only focus on the tasks assigned to me in the various issue statuses.
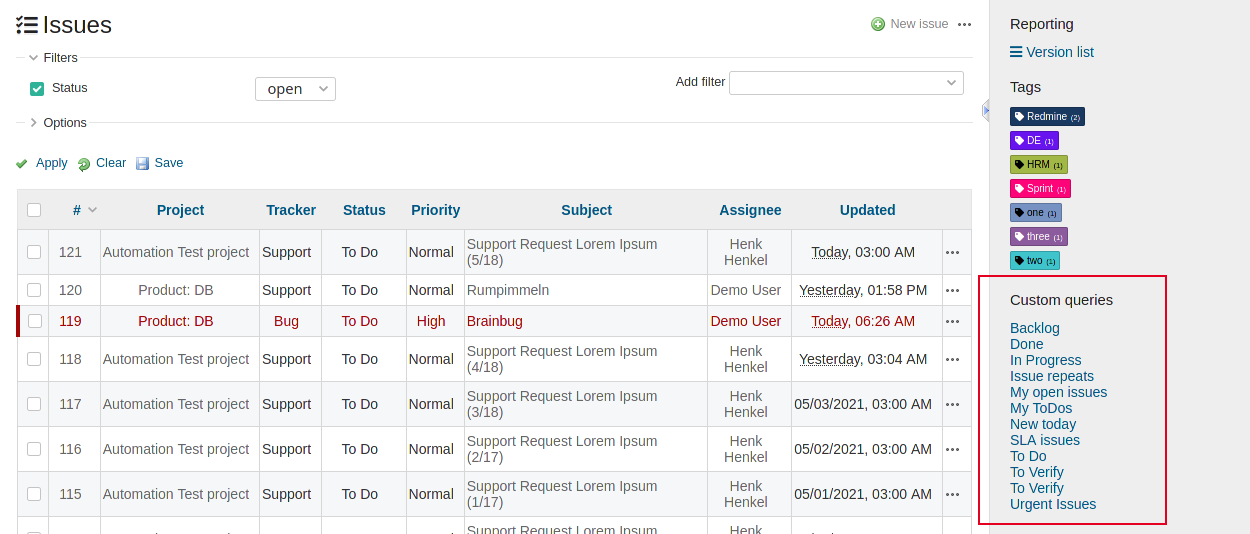
Since we use the Reporting plugin, we have even more filtering options than by default. We also use the counter boxes to get a quick overview of the scope of the respective tasks within a list.
If you want to learn more about this, you can read the following post: Getting Things Done in Project Management with Redmine
For now it’s enough to free your team from the burden of long to-do lists by working with the filters. The custom issue lists are then available for selection in the side panel of Redmine within every project.
By the way, you can always return to the original list view by clicking on “Clear”. The saved query will not be lost in the process. Not until you delete it again.